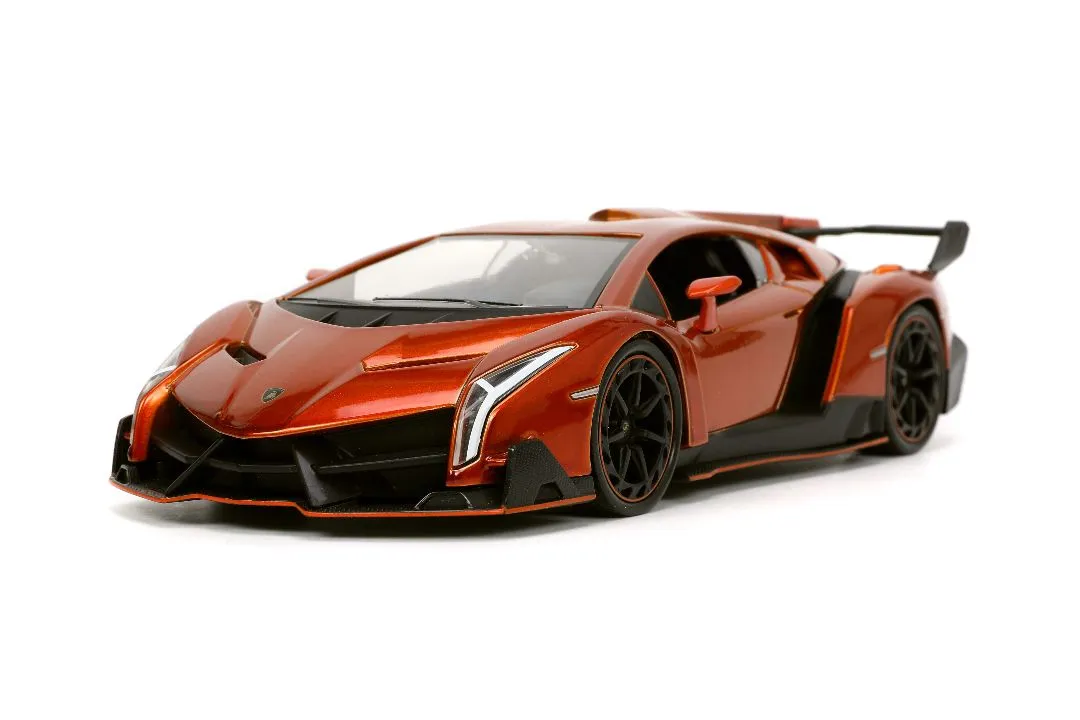
Understanding Airbrushing Diecast Models
Airbrushing diecast models is a rewarding hobby that allows you to achieve professional-looking finishes on your miniature vehicles. Unlike traditional brush painting, airbrushing provides a smooth, even coat, and enables intricate detailing. This guide offers an easy-to-follow approach, breaking down each step from selecting your tools to applying the final clear coat. Mastering this skill not only elevates the aesthetic appeal of your models but also deepens your appreciation for the craftsmanship involved. Whether you’re a beginner or looking to refine your technique, this guide will equip you with the knowledge and confidence to transform your diecast models into stunning replicas.
Essential Tools for Airbrushing
Before you begin, gathering the right tools is crucial for a successful airbrushing experience. Investing in quality equipment upfront will save you time and frustration down the line. This section outlines the essential tools, from the airbrush itself to the protective gear you’ll need. Proper equipment ensures not only better results but also a safer and more enjoyable modeling process. Remember to always prioritize safety when working with paints and solvents, ensuring adequate ventilation and using appropriate personal protective equipment.
Airbrush

The airbrush is the heart of your setup. There are different types, including single-action and dual-action airbrushes. Dual-action airbrushes offer more control, allowing you to adjust both paint and air flow independently. Consider a gravity-feed airbrush for beginners, as they’re easier to clean and handle. Choose an airbrush with a fine nozzle size (0.3mm-0.5mm) for detailed work on diecast models. Research different brands and models to find one that fits your budget and skill level.
Air Compressor
An air compressor provides the air supply for your airbrush. Look for a compressor with a built-in pressure regulator and moisture trap. A regulator lets you control the air pressure, while the moisture trap prevents water from entering the airbrush and ruining your paint job. A tanked compressor is preferable as it provides a consistent airflow and reduces pulsing. Ensure the compressor is powerful enough to handle your airbrush and the type of paint you use. Also consider noise levels, as some compressors can be quite loud.
Airbrush Paints
Choosing the right paint is essential. Acrylic paints are popular due to their low odor and ease of cleanup with water. Enamel paints offer durability but require solvents for cleaning. Consider using paints specifically designed for airbrushing, as they are pre-thinned and formulated for optimal performance. Explore different paint brands and colors, and always test your paints on a scrap piece before applying them to your model. Remember to use the recommended thinner for your chosen paint type.
Other Accessories

Other essential accessories include a spray booth to contain overspray, masking tape and putty for precise detailing, a cleaning station for your airbrush, paint mixing cups, and a good respirator. Invest in quality brushes for detail work and weathering effects. Proper lighting in your workspace is crucial for visibility. Consider using gloves to prevent fingerprints and contamination. Always prioritize safety with a good ventilation system to remove paint fumes from your workspace.
Preparing Your Diecast Model
Preparation is key to achieving a flawless finish. Thorough preparation ensures that the paint adheres properly and that all the details are sharp and well-defined. This section covers the essential steps for preparing your diecast model, from cleaning to priming. Taking your time with each step of this process sets the stage for a professional-looking result. Neglecting this step can lead to imperfections and a disappointing outcome.
Cleaning and Disassembly
Begin by cleaning your model with warm, soapy water to remove any dirt, dust, or oils. Rinse thoroughly and let it dry completely. If necessary, disassemble the model to access hard-to-reach areas. Be careful when disassembling and make sure to keep track of all the parts. Use a soft brush or a cotton swab to clean intricate details. Avoid using harsh chemicals that could damage the model’s surface. This initial cleaning is vital for proper paint adhesion.
Surface Preparation

Inspect the model for any imperfections such as mold lines or flash. Use fine-grit sandpaper (600-1000 grit) to gently remove these imperfections. For stubborn areas, use a small file. Be careful not to sand away any details. After sanding, clean the model again to remove any sanding dust. Use a tack cloth to remove any remaining particles. This preparation provides a smooth surface for the primer and subsequent paint layers, allowing for a more professional finish.
Priming the Model
Priming is a crucial step that provides a uniform base for your paint. Primer helps the paint adhere to the metal surface, prevents corrosion, and enhances the final finish. Choose a primer that is compatible with your paint type and your model’s material. This section outlines the best primers for diecast models and how to apply them properly, ensuring a smooth and even base coat.
Choosing the Right Primer
Select a primer specifically designed for metal surfaces. Acrylic primers are a good choice for their ease of use and low odor. Enamel primers offer superior durability, but require the use of solvents. Consider using a primer that matches the color of your base coat to reduce the number of coats needed. Gray and white primers are common, as they provide a good base for most colors. Always check the manufacturer’s recommendations for your model’s material.
Applying the Primer

Thin the primer according to the manufacturer’s instructions. Apply several thin, even coats, allowing each coat to dry completely before applying the next. Hold the airbrush about 6-8 inches away from the model and use smooth, consistent strokes. Avoid applying too much primer at once, as this can lead to runs or drips. Inspect the model after each coat for any imperfections and sand them down gently if necessary. Once the primer is fully cured, you’re ready for the base coat.
Airbrushing Techniques
Mastering airbrushing techniques is essential to achieving a professional finish. This section covers the core techniques, from setting up your airbrush to layering and blending paints. Proper technique not only improves the appearance of your model but also increases the longevity of the paint job. Understanding the nuances of each technique will enable you to create stunning details and realistic effects.
Setting Up Your Airbrush
Proper airbrush setup is critical for consistent results. Start by connecting your airbrush to the air compressor and adjusting the air pressure according to the paint manufacturer’s recommendations. Test the airflow on a piece of paper before you start painting. Adjust the needle and nozzle settings to achieve the desired paint flow. Practice controlling the airbrush’s trigger to regulate paint and air. Always clean your airbrush thoroughly after each session to prevent clogging and ensure optimal performance.
Paint Thinning and Mixing

Thinning your paints correctly is crucial for smooth application and preventing clogs. Use the recommended thinner for your paint type. Mix the paint and thinner in a paint cup until you achieve a milk-like consistency. Experiment with different ratios to find what works best for your airbrush and the paint you are using. Strain the paint through a fine mesh strainer to remove any particles. Proper thinning allows the paint to flow smoothly through the airbrush and onto the model’s surface.
Applying the Base Coat
Apply the base coat in several thin, even coats. Hold the airbrush at a consistent distance from the model and use smooth, controlled strokes. Avoid applying too much paint at once, as this can lead to runs or drips. Allow each coat to dry completely before applying the next. For metallic paints, use multiple thin coats to achieve an even finish. Proper base coat application provides the foundation for your final paint job and ensures a uniform color.
Layering and Blending Techniques
Layering and blending techniques add depth and realism to your model. Build up the color gradually by applying thin layers of paint. Blend the edges of each layer to create smooth transitions. Use different shades of the same color to add highlights and shadows. Practice these techniques on a scrap piece of plastic before applying them to your model. These techniques bring your model to life, making it more visually appealing and realistic.
Adding Details and Decals

Once the base coat is dry, it’s time to add details and decals. Use masking tape and putty to protect areas you don’t want to paint. Apply fine details using small brushes or an airbrush with a fine nozzle. Carefully apply decals using decal setting solutions to help them conform to the model’s surface. Consider weathering techniques, such as washes and dry brushing, to add realistic effects. Detailing is where your model truly comes alive.
Sealing and Finishing
Sealing and finishing protects your paint job and enhances its appearance. This section covers applying clear coats and polishing your model. Proper sealing ensures that your hard work is protected for years to come. The final touches can make a huge difference, creating a professional and polished finish.
Applying Clear Coats
Apply a clear coat to protect the paint from scratches and UV damage. Choose a clear coat compatible with your paint type, either matte, satin, or gloss. Apply several thin coats, allowing each coat to dry completely before applying the next. Use smooth, even strokes and avoid applying too much clear coat at once, as this can lead to runs or clouding. A good clear coat provides a durable finish and enhances the overall appearance of your model.
Polishing and Detailing

Once the clear coat is dry, you can polish the model to achieve a smooth, glossy finish. Use fine-grit polishing compounds and a soft cloth. Carefully detail any small features, such as windows, lights, and trim. Add any final details and ensure everything is perfect. These final touches bring everything together, making your model shine and stand out.
Troubleshooting Common Issues
Even experienced modelers face challenges. This section addresses common airbrushing problems and offers solutions. Common issues include paint runs, clogs, and uneven coats. Understanding the causes of these problems and knowing how to fix them is key to success. Troubleshooting is an important part of the learning process, and with practice, you’ll be able to overcome any challenges you face.