Custom diecast cars are more than just toys they are miniature works of art, intricate models, and a passionate hobby. The world of custom diecast cars offers an engaging blend of artistry, technical skill, and personal expression. This guide will provide a comprehensive introduction to the world of customizing these small-scale vehicles, showing you how to transform ordinary models into unique, personalized masterpieces. Whether you’re a seasoned modeler or a complete beginner, this article will equip you with the knowledge to start creating your own custom diecast cars. Get ready to dive in and learn how to turn your passion for cars into a rewarding and creative hobby.
What Are Custom Diecast Cars (Overview)
Custom diecast cars are essentially modified versions of commercially available diecast models. These models, typically made from metal and plastic, are popular among collectors and hobbyists. The customization process involves altering the original model in various ways to create a unique and personalized version. This can include anything from repainting the car and adding custom details to making major modifications to the body, chassis, or interior. The appeal of custom diecast cars lies in their uniqueness and the ability to express personal creativity. Each custom car is a reflection of the creator’s vision, skill, and attention to detail. The process is not just about modifying a toy; it’s about bringing a vision to life.
The Appeal of Custom Diecast Cars (Why Customize)
The allure of customizing diecast cars stems from several key factors. For many, it’s the chance to own a one-of-a-kind model that can’t be found in stores. This exclusivity adds significant value and satisfaction. Customization also offers a creative outlet, allowing you to experiment with different designs, colors, and modifications. It’s a way to translate your artistic ideas into a tangible form. Moreover, it provides an opportunity to learn new skills such as painting, detailing, and minor engineering. The hobby can be very therapeutic and is a great way to relax and de-stress. The sense of accomplishment that comes from transforming a basic model into a customized masterpiece is truly rewarding. It is a hobby that blends creativity, technical skill, and personal expression.
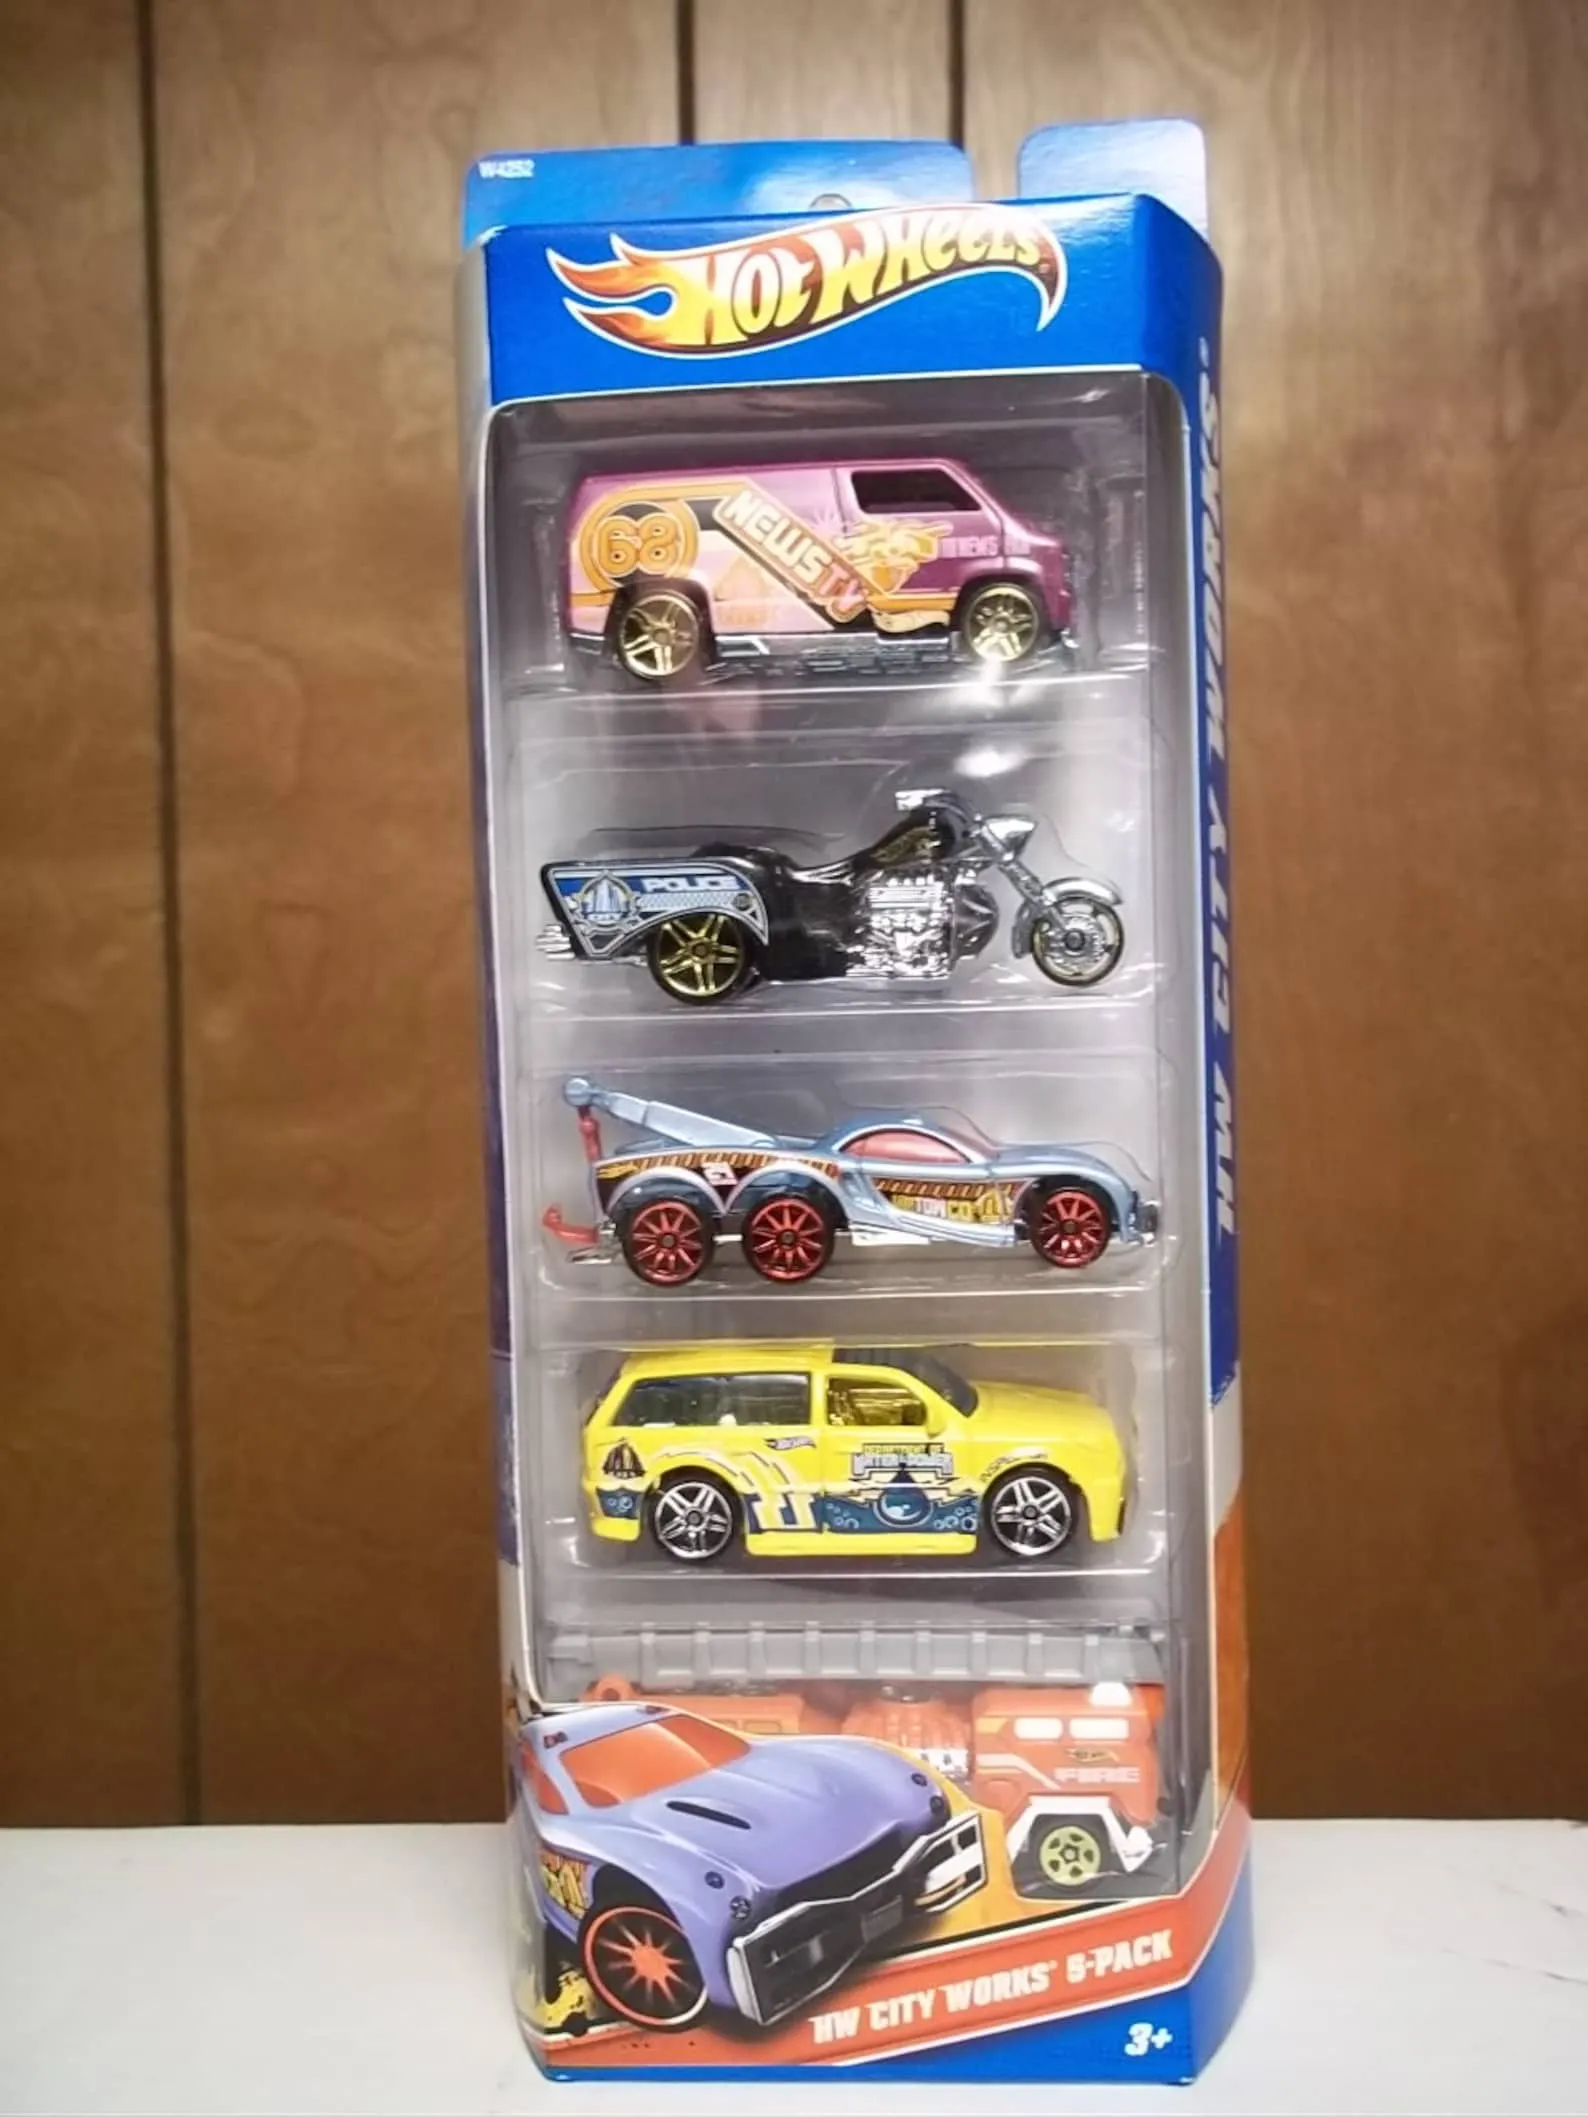
Diecast Models (Base Model Selection)

Choosing the right base model is crucial for a successful custom diecast car project. Consider factors like the car’s make, model, and scale (1/18, 1/24, 1/64 are common). Select a model that appeals to your tastes and has good potential for customization. Look for models with simple designs and smooth surfaces, which are easier to work with. Consider the availability of aftermarket parts or if you plan on fabricating details yourself. Popular choices include classic cars, sports cars, and trucks because they offer a wide range of customization possibilities. When choosing, also think about your skill level and the modifications you want to make. A simpler model will be easier for beginners, while more complex models offer more opportunities for advanced techniques.
Materials for Customization
A variety of materials are used in custom diecast car projects. High-quality paints are essential, and acrylic or enamel paints are often preferred for their durability and ease of use. You’ll also need thinners and primers to prepare the surface. For detailing, consider using photo-etched parts, decals, and various types of plastics. These materials can be used to create intricate details. Glues and adhesives are necessary for assembling parts, and you will want a selection of different types of glue. Additionally, tools such as putty or filler are needed to smooth out imperfections and fill gaps. The choice of materials depends on the specific modifications you plan to make and your desired level of detail.
Tools You’ll Need (Essential)
The right tools are key to achieving professional-looking results. Essential tools include a hobby knife, various screwdrivers, and pliers. A cutting mat will protect your work surface. Sanding sticks and sandpaper are required for smoothing surfaces. Paintbrushes of different sizes are needed for painting. An airbrush or spray can is useful for even paint application. For detailed work, you will need tweezers and magnifying glasses. A drill or rotary tool can be useful for making holes and cutting shapes. Make sure you have a well-lit and ventilated workspace to ensure safety and accuracy. Investing in quality tools will make the customization process more enjoyable and produce better results.
Disassembly (Steps)

Disassembling a diecast car is usually the first step in the customization process. Start by carefully removing the wheels and tires. Next, detach any external parts such as mirrors, wipers, and lights. Use small screwdrivers or hobby knives to gently pry the body away from the chassis. Take care not to damage any parts during this process. Keep track of all the screws and parts, as you will need to reassemble the car later. Take pictures of the model before disassembly to use as a reference. Be patient and methodical during disassembly, as rushing can lead to broken parts. This step is crucial for accessing all the surfaces you’ll need to modify.
Removing Paint (Techniques)
Removing the original paint is often necessary to prepare the surface for customization. There are a few different methods for paint removal, with the most common being chemical stripping. You can use paint strippers, which are available at most hobby stores. Apply the stripper according to the manufacturer’s instructions and let it sit for the recommended time. Then, carefully remove the softened paint using a soft brush or toothbrush. Another method is to sand the paint off, using different grits of sandpaper to gradually remove the paint. This method is effective but requires more effort. Be sure to wear appropriate safety gear, such as gloves and a respirator, when working with chemicals or sanding.
Custom Painting (Step by Step)
Painting is where the customization process comes to life. Start by cleaning and priming the surface of the car. This provides a good base for the paint to adhere to. Choose your paint color and apply thin, even coats using an airbrush or spray can. Allow each coat to dry before applying the next one to prevent runs or drips. Once the paint is dry, you can add details such as stripes, logos, or weathering effects. These details can be applied using decals, masking tape, or freehand techniques. After painting and detailing, apply a clear coat to protect the finish and give the car a professional look. The key is to be patient and to apply the paint in thin, even coats.
Modifying the Chassis and Wheels

Modifying the chassis and wheels adds another level of customization. You might want to lower the car’s suspension, which can be achieved by cutting or modifying the existing suspension components. You can also replace the original wheels and tires with custom ones, which can greatly enhance the car’s appearance. Consider aftermarket wheels or use wheels from other diecast models. The chassis may also be modified to accommodate these changes. Details such as exhausts, undercarriage components, and interior modifications can also be added to enhance the realism. These modifications require a steady hand and precision, so take your time and work methodically.
Reassembly (Putting It All Together)
Once the painting and modifications are complete, it’s time to reassemble the car. Carefully attach all the external parts, such as mirrors, lights, and wipers, using glue or adhesive. Reattach the wheels and tires, making sure they rotate freely. Double-check that all screws and components are in place. Ensure that all the parts fit snugly and that the car looks as you envisioned. This is the final step where you can truly appreciate the transformation. Take your time, and make sure that everything is aligned correctly. The reassembly process requires attention to detail to ensure the model not only looks great but functions well.
Displaying and Showcasing Your Custom Diecast
Once your custom diecast car is complete, it’s time to showcase your work. Display your models in a safe location, such as a display case or on a shelf away from direct sunlight and dust. Consider using display stands or dioramas to enhance the presentation of your cars. Organize your collection by model type, scale, or theme. Share your creations with other enthusiasts by posting photos on social media, attending car shows, or joining online forums. Engaging with other enthusiasts provides opportunities for feedback, inspiration, and new ideas. Displaying your custom diecast cars allows you to share your passion and creativity with others.
Where to Find Inspiration and Learn More

There are many resources available to inspire and educate aspiring custom diecast car builders. Online communities and forums are great places to connect with other enthusiasts, share your work, and ask for advice. YouTube channels and blogs offer tutorials, reviews, and inspiration for custom projects. Model car shows and events provide opportunities to see custom cars in person and meet other hobbyists. Books and magazines dedicated to model car building offer in-depth tutorials and ideas. By immersing yourself in these resources, you can learn new techniques, stay up-to-date with the latest trends, and continuously improve your skills. The community of custom diecast car enthusiasts is welcoming and supportive, so don’t hesitate to reach out and share your passion.